Kitchen Lighting Guide: What to Plan During Your Remodel
Your kitchen is half done. Cabinets are picked out, countertops are ordered. Then someone asks, "Where do you want the lights?" And you freeze.
This happens all the time. Lighting is one of the most overlooked parts of a kitchen remodel. But it affects how the entire room looks and how well you can actually use it. Get it right and the kitchen feels open, warm, and functional. Get it wrong and you are squinting over the cutting board at 7 PM.
Here is what you need to know before a single wire gets pulled.
Quick Answer
Good kitchen lighting uses three layers: ambient, task, and accent. Plan all of them before your cabinets go in. Electrical rough-in happens early in a remodel, and changing things after drywall and cabinets are installed gets expensive fast.
The 3 Layers of Kitchen Lighting
Think of kitchen lighting in layers, not fixtures. Each layer does a different job. You need all three for a kitchen that works well day and night.
1. Ambient Lighting (General)
This is your base layer. It fills the room with even, overall light so you can walk in and see everything.
Common ambient fixtures include recessed cans, flush mounts, and central ceiling fixtures. In most kitchens, recessed LED cans are the go-to choice because they sit flush with the ceiling and spread light evenly.
Planning rule: one recessed can per 4 to 6 square feet of floor space. A 150-square-foot kitchen needs roughly 25 to 37 cans. That sounds like a lot, but 4-inch LED cans are small and blend into the ceiling.
Color temperature matters. For kitchens, stick with 3000K to 4000K. That range gives you warm white to neutral white. Below 3000K looks too yellow. Above 4000K starts looking bluish and clinical. Most homeowners land happiest at 3500K.
2. Task Lighting
This is the light that helps you actually cook. It targets specific work zones: countertops, the stove area, the sink, and the island.
Task lighting includes under-cabinet LED strips, pendant lights over an island or peninsula, and recessed cans aimed directly at countertops. Without task lighting, your body casts a shadow over the counter every time you stand at it. Ambient light comes from above and behind you. Task light comes from in front and directly over the work surface.
Under-cabinet lights are the single biggest upgrade most kitchens are missing. They light up the countertop where you actually prep food. Pendant lights over an island give you both task light and a visual anchor for the room.
3. Accent Lighting
Accent lighting is what makes a kitchen feel finished and custom. It is not strictly necessary, but it separates a basic remodel from one that looks intentional.
Examples include in-cabinet lighting (inside glass-front cabinets), toe-kick lights along the base of cabinets, above-cabinet LED strips that wash light up toward the ceiling, and decorative pendant fixtures.
Accent lighting adds depth. It makes the room feel layered instead of flat. And toe-kick lights double as nightlights, so you can grab water at 2 AM without blinding yourself.
Fixture-by-Fixture Guide
Recessed Cans
Go with 4-inch or 6-inch LED recessed cans. The 4-inch size works well in most kitchens. The 6-inch size fits better in kitchens with high ceilings or larger floor plans.
Spacing: place cans 4 to 6 feet apart in a grid pattern. Keep them about 2 feet from the wall so the light washes down the cabinets without creating harsh shadows.
IC-rated fixtures are required if the ceiling has insulation above it (most homes do). IC stands for insulation contact. Using a non-IC fixture against insulation is a fire risk. Always specify IC-rated.
LED vs. traditional: always LED. They last 25,000+ hours, run cool, and use a fraction of the electricity. The price difference is minimal now. There is no reason to install incandescent or halogen in 2026.
Pendant Lights Over the Island
Pendants are the statement piece. They hang over the island or peninsula and give you both task light and visual personality.
Height: hang them 30 to 36 inches above the countertop. Too low and you will hit your head or block sightlines. Too high and they lose impact and throw light too wide.
Spacing: place pendants 24 to 30 inches apart, centered over the island. Use odd numbers. One pendant works for a small island. Three pendants work for a standard 6 to 8-foot island. Two pendants look awkward because the eye wants a center point.
Size: the pendant diameter should be about one-third the width of the island. A 36-inch-wide island calls for pendants around 12 inches across.
Under-Cabinet LED Lighting
This is the workhorse of kitchen task lighting. LED strips or puck lights mount to the underside of your upper cabinets and illuminate the countertop below.
Hardwired vs. plug-in: hardwired looks cleaner and is the better choice during a remodel since the walls are already open. Plug-in systems are fine for a quick upgrade on an existing kitchen, but you will see the cord.
Color temperature: 3000K warm white is the standard. It matches most ambient lighting and makes food look natural. Avoid cool white (5000K+) because it makes everything look harsh.
Dimmable is preferred. You want full brightness for chopping and low brightness for movie night. Many LED strips come with built-in dimming. If yours does not, add a dimmer switch on the circuit.
Placement: mount the strips toward the front edge of the cabinet (closest to you) rather than the back. This throws light onto the countertop where your hands are, not onto the backsplash behind the counter.
Flush and Semi-Flush Mounts
If your kitchen ceiling is 8 feet or lower, recessed cans may not be possible everywhere (especially if there are joists, ductwork, or plumbing in the way). Flush mounts sit directly against the ceiling. Semi-flush mounts drop down 4 to 8 inches.
These work well as a central fixture paired with recessed cans around the perimeter. They also work in breakfast nooks or over a kitchen table.
Track Lighting
Track lighting is a flexible option, especially for galley kitchens or kitchens where the ceiling will not accommodate recessed cans. A single track can hold multiple adjustable heads that you aim wherever you need light.
The downside: track lighting looks more utilitarian than recessed or pendant options. But modern track systems come in low-profile designs that blend in much better than the bulky tracks from the 1990s.
Miami-Specific Lighting Considerations
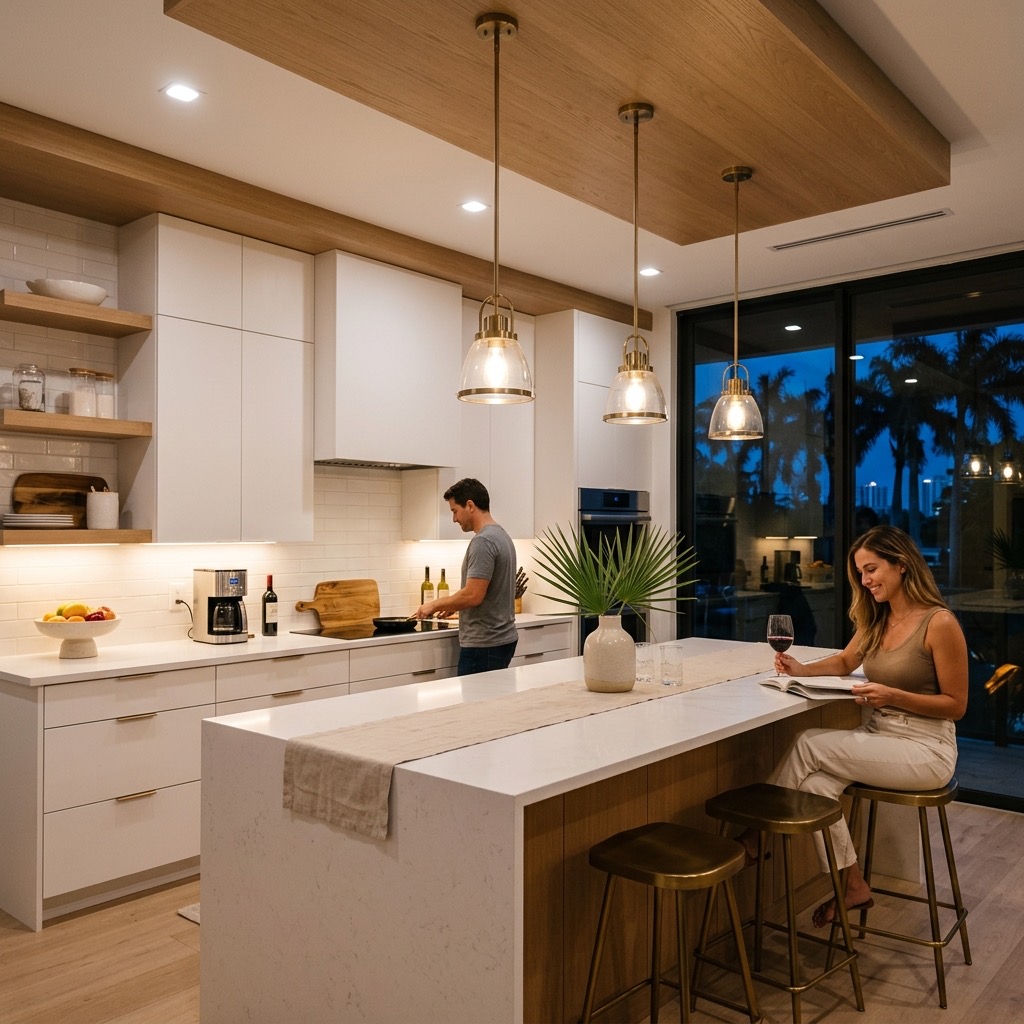
Miami kitchens have a few things working in their favor. Big windows are common, especially in newer construction. That means plenty of natural light during the day. Sliding glass doors to a patio or lanai add even more.
But here is the flip side. When the sun goes down at 7 PM (or 5:30 PM in winter), all that window space becomes dark glass. Your kitchen lighting plan has to carry the full load from evening through morning. A kitchen that looks great at noon can feel like a cave at 8 PM if the artificial lighting was an afterthought.
Open floor plans are standard in most Miami homes built in the last 20 years. That means your kitchen lighting bleeds into the living area. If you put 5000K daylight bulbs in the kitchen and 2700K warm bulbs in the living room, the transition looks jarring. Plan your color temperatures to flow between rooms.
Humidity. Miami's moisture levels are no joke. For any fixtures near the sink, stove, or exterior walls, make sure they are rated for damp locations. This is especially important for under-cabinet lights near the sink and any recessed cans near range hoods.
Common Kitchen Lighting Mistakes
Not Enough Light Over the Sink
People forget the sink. It is where you wash produce, clean dishes, and handle raw meat. A single recessed can directly above the sink is essential. If your sink is under a window, the natural light helps during the day but you still need a fixture for nighttime.
Forgetting the Pantry
Walk-in pantries need their own light. A small LED fixture with a door-activated switch is the simplest solution. Otherwise you are holding your phone flashlight while looking for the canned tomatoes.
All Lights on One Switch
This is the biggest mistake. If every light in the kitchen turns on and off from one switch, you have no control. You want zones. The recessed cans on one switch or dimmer. Under-cabinet lights on another. Pendants on a third. This lets you set the mood and save energy.
Dimmer switches cost $75 to $150 installed and are worth every penny. A fully lit kitchen is great for cooking. A dimmed kitchen is great for entertaining.
Wrong Color Temperature
Mixing color temperatures makes a kitchen look disjointed. A 5000K recessed can next to a 2700K pendant looks off. Pick one temperature range (3000K to 3500K is our recommendation) and use it consistently across all fixtures.
Pendants Hung Too Low
We see this constantly. Pendants that look perfect in the showroom end up hanging at face level over the island. Measure 30 to 36 inches from the countertop surface, not from the ceiling. And account for anyone in the house over 6 feet tall.
What Kitchen Lighting Costs in Miami-Dade
Here are real installed prices. These include the fixture, wiring, and labor.
- Recessed LED cans: $150 to $300 each installed. A set of 10 runs $1,500 to $3,000.
- Under-cabinet LED strip: $200 to $600 per run (one section of cabinetry). A full kitchen with upper cabinets on two walls runs $400 to $1,200.
- Pendant lights: $100 to $500+ each, depending on the fixture you choose. High-end designer pendants can run $800+.
- Dimmer switches: $75 to $150 each installed. Budget for 3 to 4 dimmers per kitchen.
- Accent lighting (toe-kick, in-cabinet): $150 to $400 per zone.
A complete lighting package for a mid-range kitchen remodel typically runs $2,000 to $5,000 for fixtures and installation. That is a fraction of the total remodel cost, and it has one of the biggest impacts on how the finished kitchen feels.
When to Plan Your Kitchen Lighting
Before cabinets are installed. This is the answer. Full stop.
Electrical rough-in (running wires through the walls and ceiling) happens early in a remodel, before drywall goes up. Your electrician needs to know where every switch, outlet, and junction box goes before the walls close up.
If you wait until cabinets are in, adding a recessed can means cutting into finished drywall, patching, and repainting. Adding hardwired under-cabinet lights means fishing wire through closed walls. It can be done, but it costs two to three times more than doing it during rough-in.
At Broke & Fixed Home Solutions, we walk through lighting plans with every kitchen remodel client before demo day. It is one of the first conversations we have, not an afterthought.
FAQ
How many recessed lights does a kitchen need?
Plan for one recessed can per 4 to 6 square feet of floor space. A 10x12 kitchen (120 sq ft) needs about 20 to 30 cans. Use 4-inch LED cans for a clean look. Supplement with task and accent lighting so the recessed cans do not carry the entire load.
What color temperature is best for kitchen lighting?
Stick with 3000K to 3500K for most kitchens. This range gives you a warm, natural white that makes food look appetizing and skin tones look healthy. Avoid going below 2700K (too orange) or above 4000K (too clinical). Keep all fixtures in the same range.
Are LED under-cabinet lights worth it?
Absolutely. Under-cabinet LEDs are one of the highest-impact, lowest-cost upgrades in a kitchen remodel. They eliminate counter shadows, make prep work safer, and add a finished look. Hardwired versions during a remodel cost $200 to $600 per run and last for years.
Can I add recessed lights after cabinets are installed?
You can, but it costs more. An electrician has to cut into the finished ceiling, run new wiring, and patch any damage. Expect to pay 50 to 100 percent more per fixture compared to installing during the rough-in phase. Plan lighting before cabinets go in whenever possible.
Should pendant lights over the island match the rest of the kitchen?
They do not have to match exactly, but they should complement the overall style. Pendants are a chance to add personality. A modern pendant in a transitional kitchen can work well. The key is matching the metal finish and color temperature so the pendants feel intentional, not random.
How much does a full kitchen lighting upgrade cost in Miami?
A complete lighting package runs $2,000 to $5,000 for a mid-range kitchen. This covers recessed cans, under-cabinet LEDs, a few pendant lights, and dimmer switches. High-end kitchens with designer fixtures and full accent lighting can run $5,000 to $10,000 or more.
Ready to Plan Your Kitchen Lighting?
If you are remodeling your kitchen in Miami-Dade County, lighting should be one of the first things you plan. Not the last. The Broke & Fixed Home Solutions team handles kitchen remodels across Kendall, Doral, and 15 other service areas in Miami-Dade.
Call us at (786) 363-7039 to set up a free consultation. We will walk through your kitchen, talk about your layout, and help you build a lighting plan that works before a single cabinet goes up.
Ready to start your Miami remodel?
Free in-home estimate. We respond within 15 minutes.