Updated November 3, 2026
Why water heaters leak
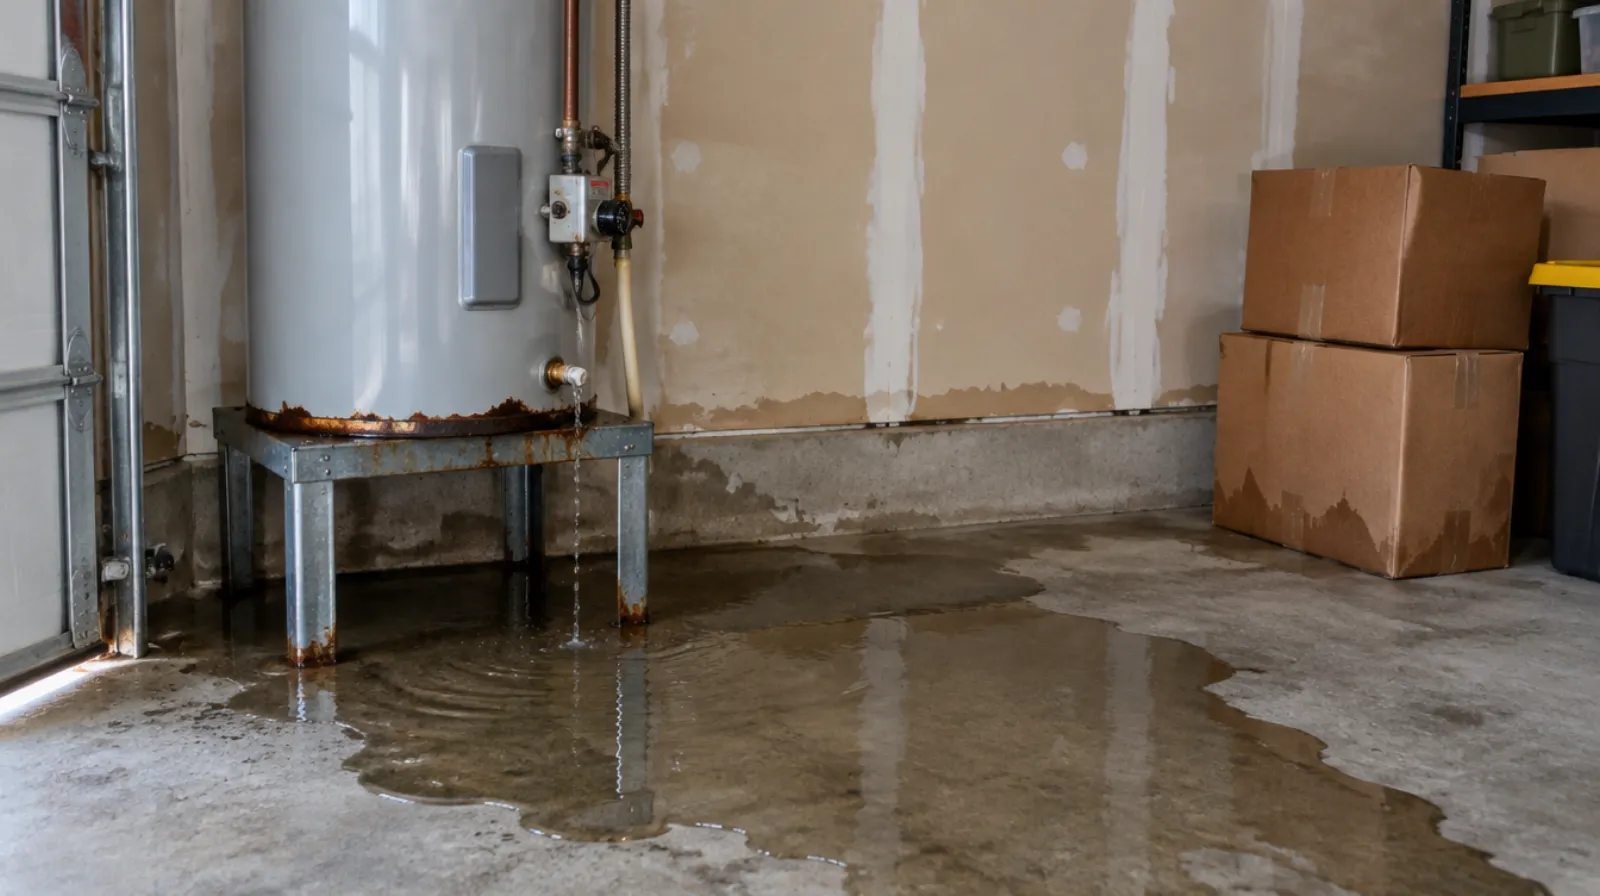
A tank water heater is a steel tank full of hot, pressurized water. When the tank itself corrodes through, it leaks from the base. A. O. Smith calls a leak from the base often the first sign of a serious problem such as a corroded tank, and says replacing the heater is usually more practical than repairing it.
Not every leak means a dead tank. A leak from the side often comes from the temperature and pressure relief valve, which opens when the temperature or the pressure gets too high. A. O. Smith says high water pressure is a common cause, and that a properly sized, charged expansion tank is the long-term fix. Leaks at the top usually come from a loose pipe connection or a failing fitting, or a drain valve that is not fully closed.
Never cap or plug a relief valve. It is a safety device. A plumber finds out why it is opening.
Garage unit, closet unit: where the water goes
A heater in the garage sits on a slab. The water spreads across the floor, runs to the low spot, and wicks up into the bottom of the garage walls, boxes and anything stored on the floor. It looks like a mess you can mop. The drywall at the base, and the wall you share with the house, can still be holding water.
A heater in an indoor closet is harder on the house. The water runs out under the door and into the hallway or a bedroom, into the baseboard, the carpet, laminate or wood, and the bottom of the drywall. Tile and grout lines carry it further. In a townhouse or condo, the water can also reach the unit next door.
The first hour, step by step
First, power. For an electric heater, switch off its breaker. For a gas heater, if you are comfortable doing it, turn the gas control to off or close the gas valve near the heater. If you smell gas, leave the house and call your gas company or 911 from outside. If there is water around the heater and you cannot tell the power is off, stay back and shut off the main breaker instead.
Second, water. Close the cold water valve on the pipe that feeds the top of the tank. A lever turned across the pipe, or a wheel turned clockwise, is closed. If you cannot reach it or it will not turn, shut the main water supply to the house. Triple-I says to know where that main shutoff is before you need it. Do not touch the tank, the pipes or the relief valve discharge. The water can be scalding.
Then soak up the water, lift anything off the floor, and photograph the heater, the leak, the water line and the rooms around it. Call a plumber. Keep the receipts for any emergency work, for your insurer.
What we do
A plumber fixes the leak or replaces the heater. We deal with the water. Our IICRC-certified technicians extract standing water, then take moisture readings on the floor, at the base of the walls, and in the walls shared with the closet or the garage. A closet wall can be wet on the other side, in the next room.
We dry with air movers and dehumidifiers and remove what cannot be saved: baseboard, wet insulation, soft drywall, and flooring that swelled or lifted. Then we rebuild: drywall, paint, baseboard, and tile or other flooring. If the leak turns out to be a supply line and not the tank, our burst pipe guide has more.
We handle the reconstruction too: new drywall, baseboards, flooring, tile, cabinets and paint, one crew from extraction to the final walkthrough. See water damage reconstruction.
What insurance usually looks at
Ask your insurer whether the policy pays for the water damage, the heater, or both. Those are often treated as separate things. Adjusters ask when the leak started, how old the heater is, and whether it failed suddenly or dripped for a long time. A slow drip that rotted a floor over months is treated differently from a tank that split overnight.
We document the damage for your adjuster: photos, moisture readings and a written scope. Keep the plumber's invoice, and keep the old heater or photos of it until the adjuster has seen it. Report the loss before repairs start. Our insurance guide walks through the steps.